
Building your first widget - Step 1
It was pretty cool when Apple gave us widgets with iOS 14. Finally we could customize our home screens with something more than just app icons! This is a simple walkthrough of how to add a widget to your app & what to put in the widget template code Apple creates for you. Let’s get started.
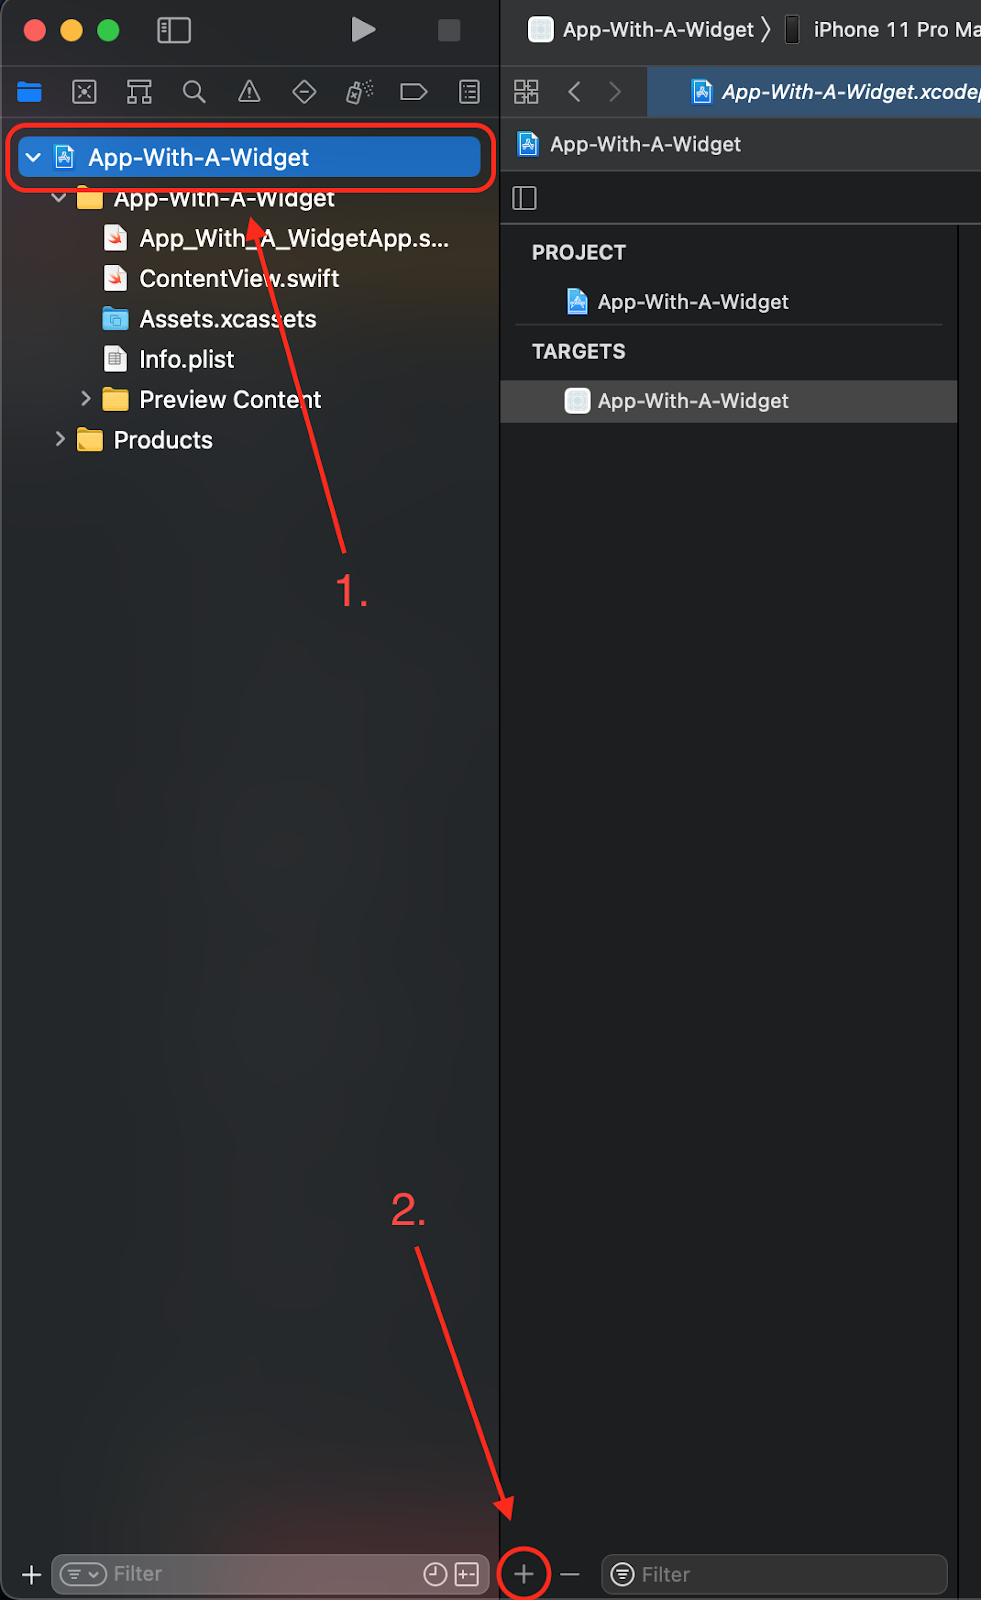
In this article we’ll add a basic widget to an existing project, then get it running on the simulator.The first step is to create your widget target - so (1) click on your project file and (2) click the plus button in the target column.
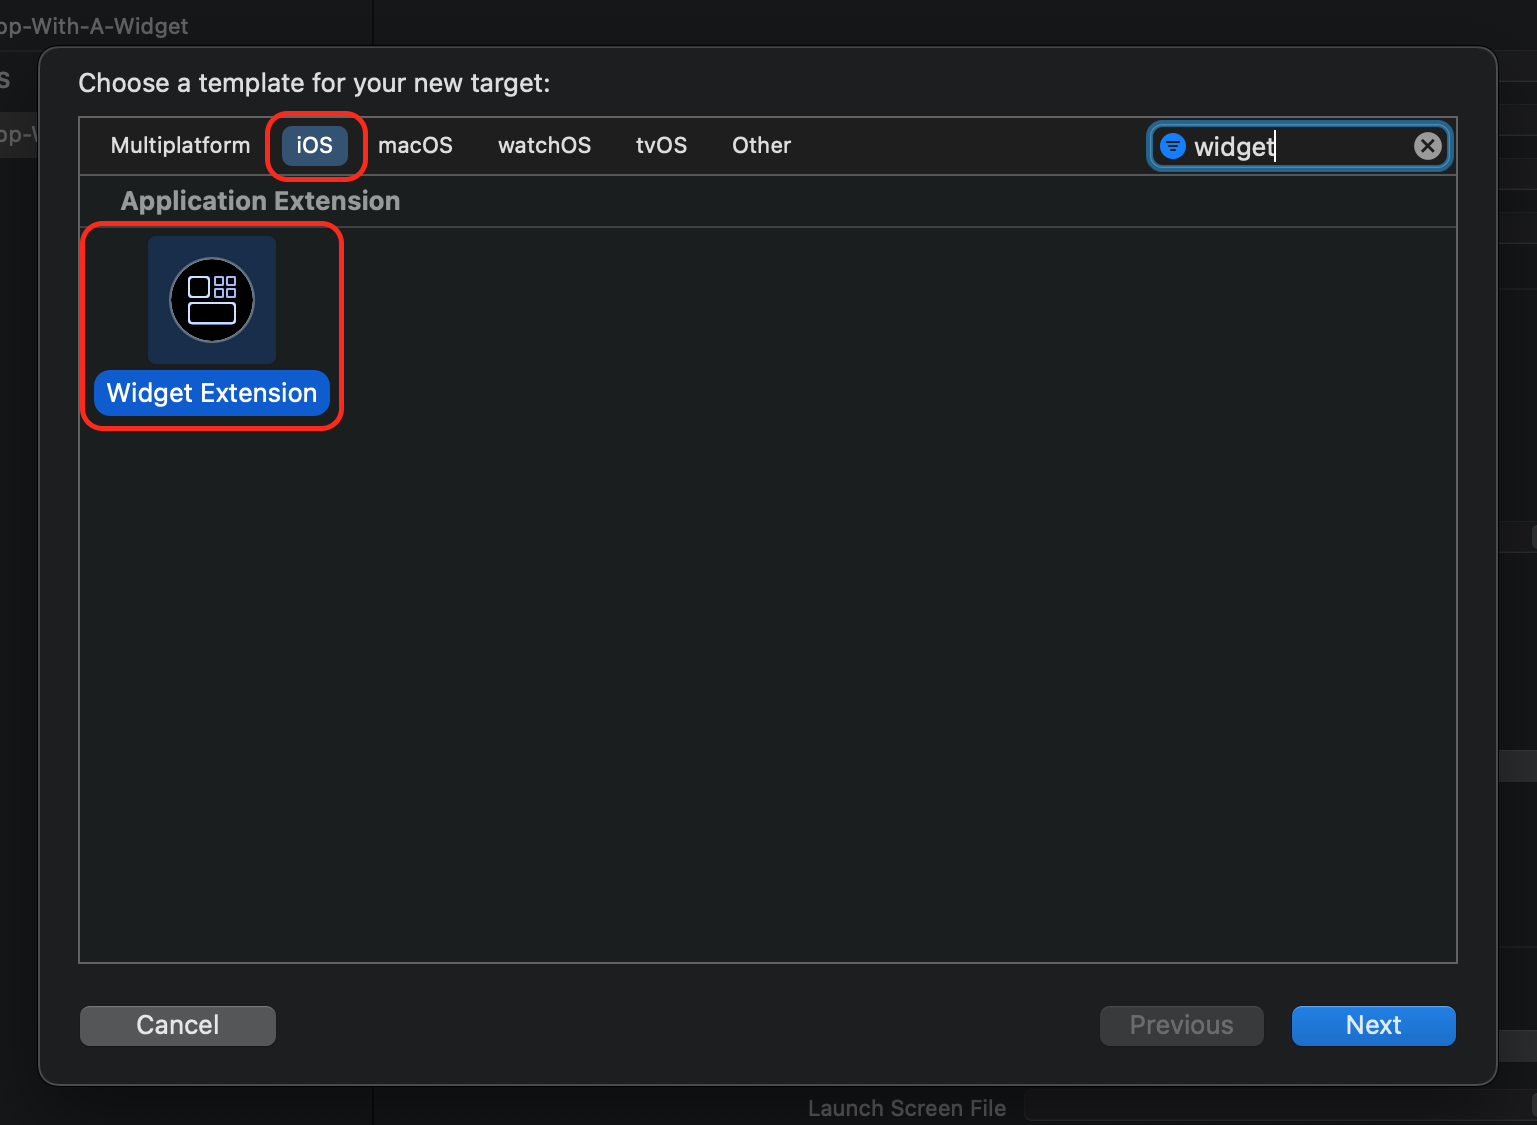
Next, select make sure iOS is selected as the platform, and select “Widget Extension” as the target type. I like to use the filter field in the top right to quickly find what I’m looking for. Click next.
Give your widget a name (a good convention is ending the name with “Widget” so it’s obvious what the target’s purpose is). You can uncheck “Include Configuration Intent” for now (don’t worry, another article will talk about widget intents & how to use them). Click finish.

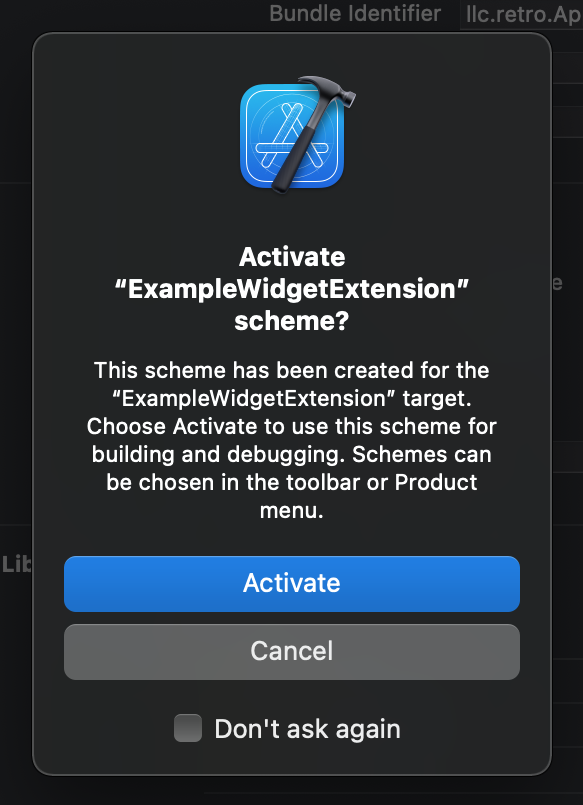
Lastly, activate the scheme when Xcode prompts you (if it doesn’t prompt you & the scheme isn’t created, go to Product > Scheme > Manage Schemes… and click “Autocreate Schemes Now”)
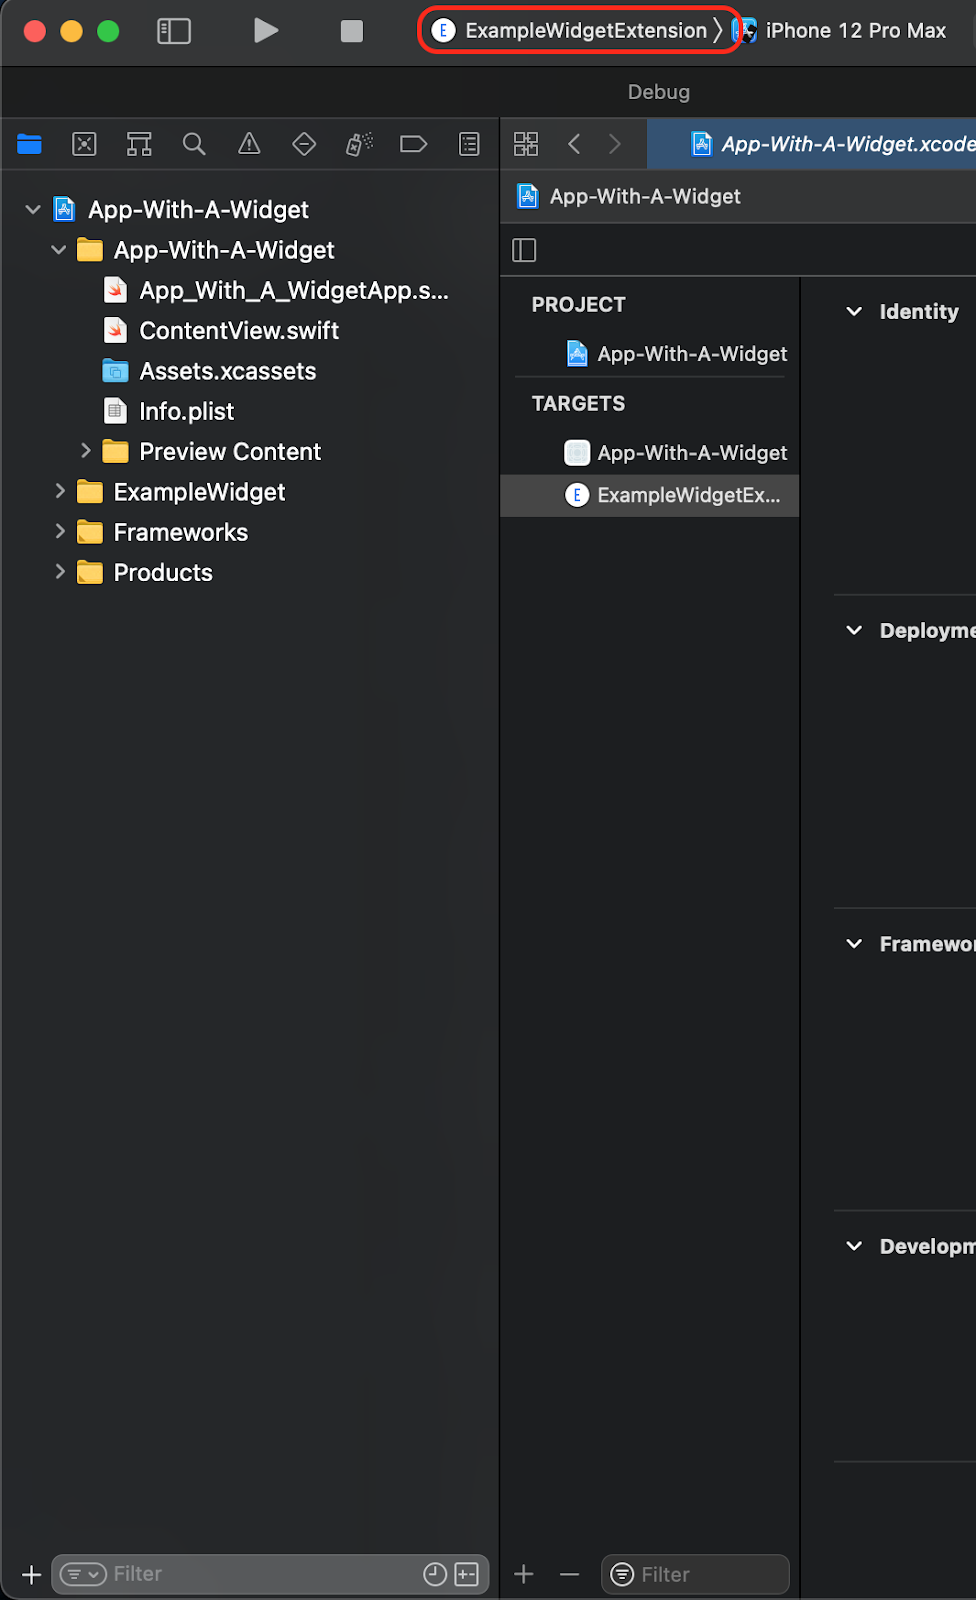
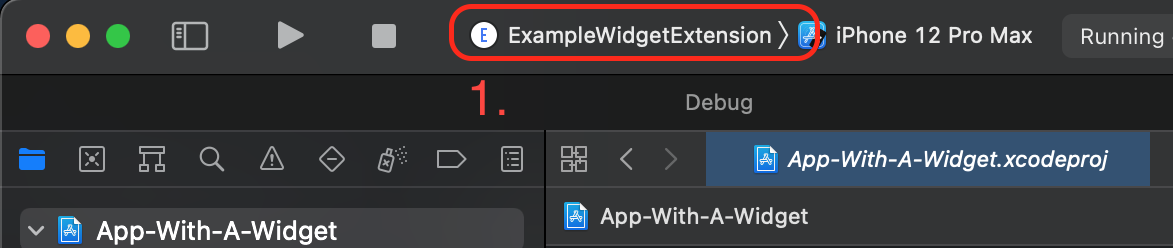
Nice! Your widget extension target is ready to go. At this point you can build and run to preview the widget - just make sure the widget extension scheme is active:
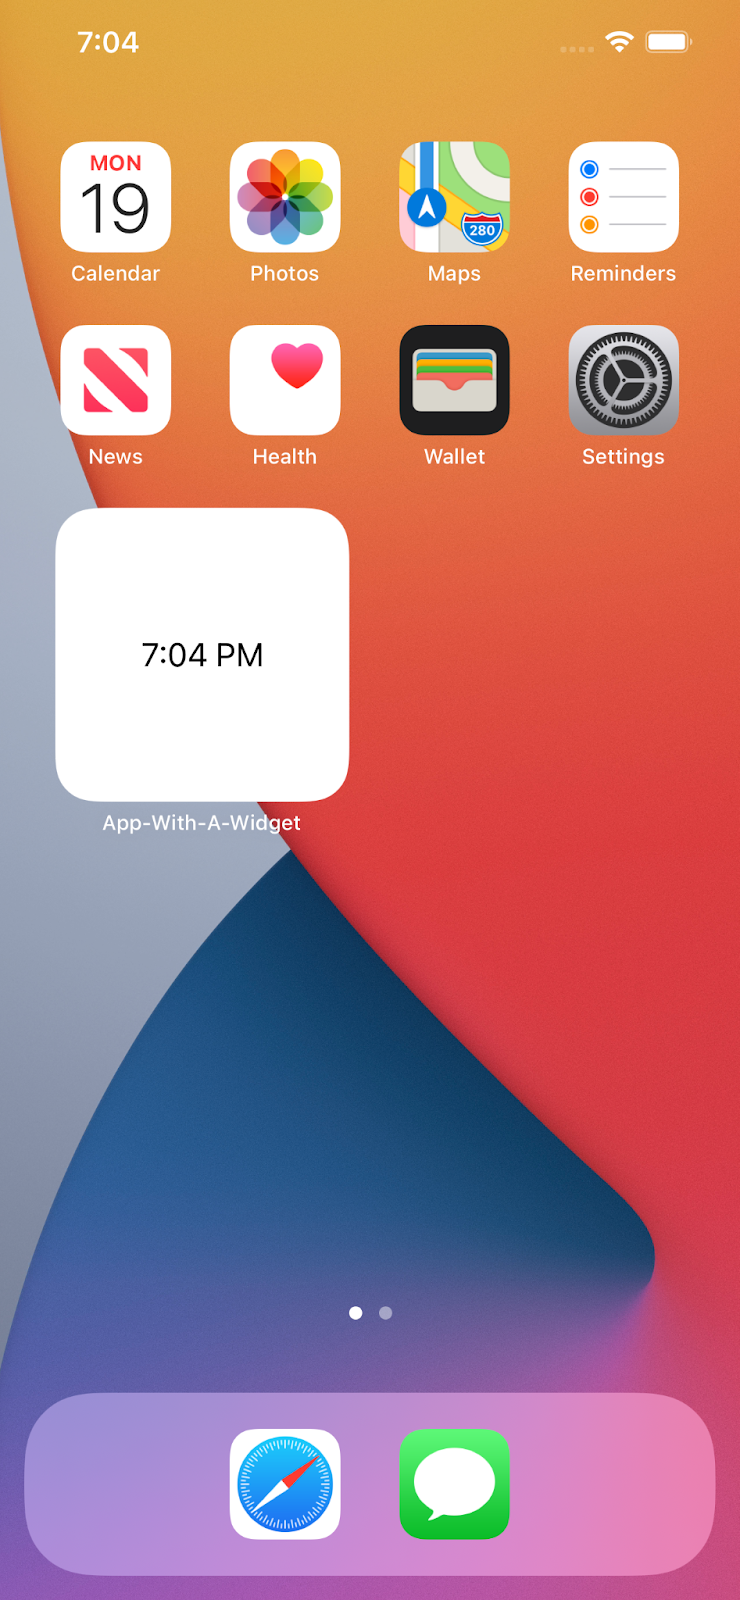
Here’s what you should see - the default template code simply shows a timestamp:
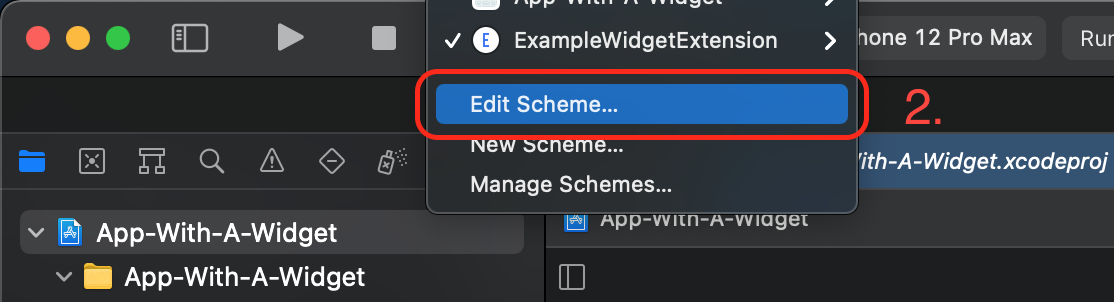
If you’d like to preview the widget at another size, you can do that pretty easily by passing an environment variable in the scheme. Click the widget’s scheme name (1) and then click “Edit Scheme...” (2)
Make sure that the run scheme is selected. Xcode should already provide you with a _XCWidgetFamily environment variable set to “medium”. Just check the box next to that entry and click close.

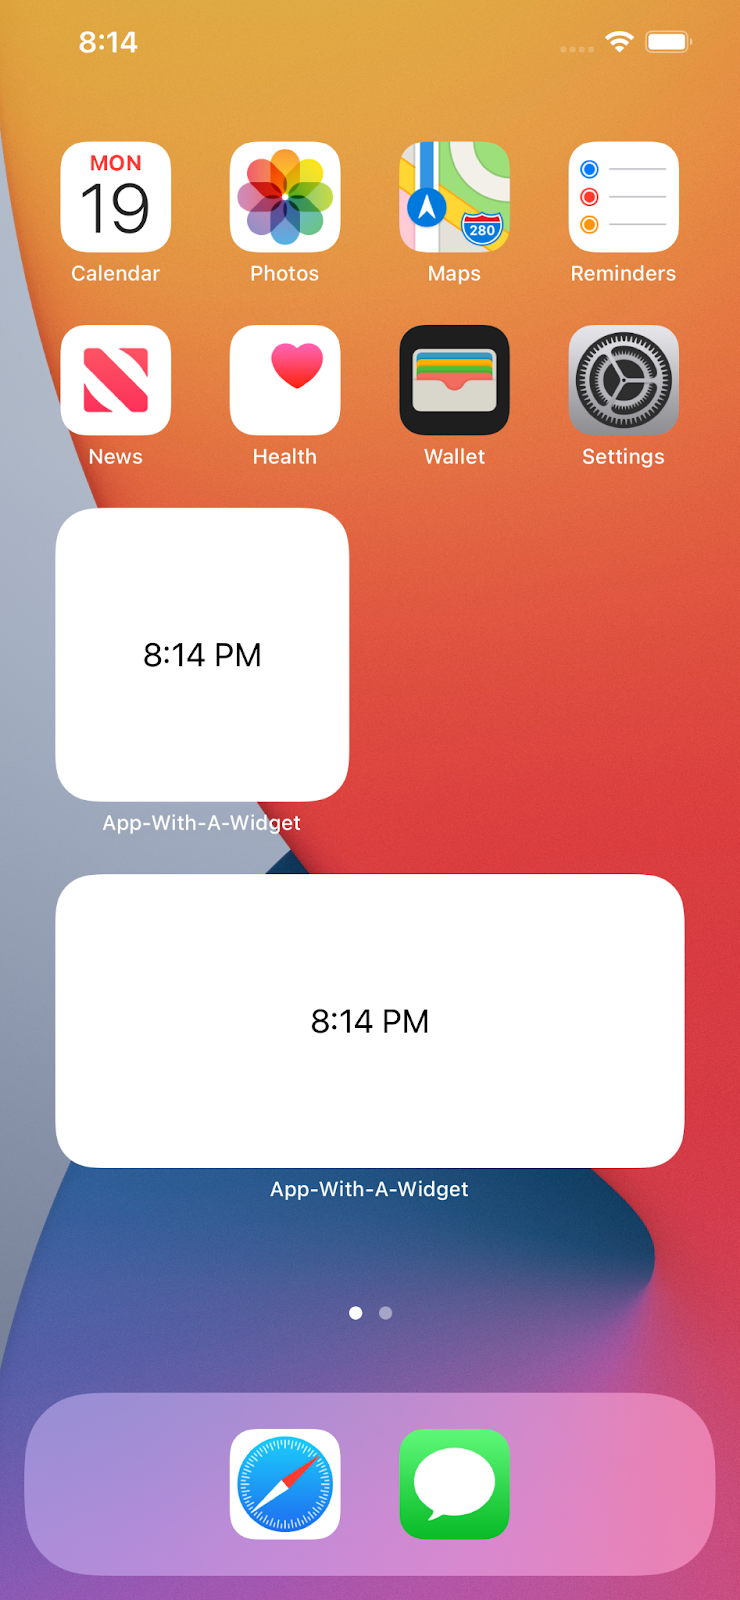
Hit run one more time to see the medium widget on the simulator.
That’s it for step one - adding the widget extension target is pretty easy. Now we can start the real work of customizing the widget UI and data. For that, continue to step 2.